There are many advantages to using a starter, from flavor to health benefits and appearance.
A starter can be called wild yeast or levain – they are the same thing. Levain is a dough where a natural strain of yeast, found in the flour, has been developed and is being kept alive.
For this week we will go over getting a starter going and maintaining it.
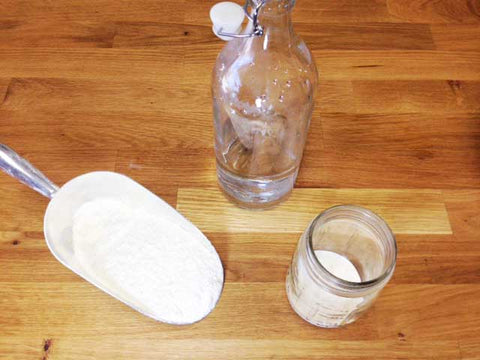
You will need a scale, a fork, and a mason jar.
Ingredients:
- Unbleached Whole Wheat Flour
- Filtered Water
Directions:
- Using a kitchen scale, measure out 60g of whole wheat flour and 60g of filtered water in a mason jar. Mix well with a fork and close the lid loosely, so there is just a small gap to allow air out.
- Keep the jar on your counter for 2 days.
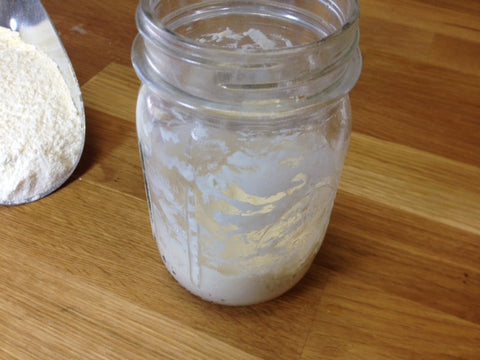
- On Day 2, pour 30g of the starter into a clean masonry jar and dump the rest. It may look like nothing is going on at this point, and that is perfectly normal.
- Using a scale, add 30g of flour and 30g of filtered water to your starter. This is called feeding your starter. Always put the same amount of flour and water as the existing starter. As you can see it will triple in weight, so it is important to keep as little as possible when maintaining it.
- Store on your counter for another 2 days, repeating the feeding process above each day.
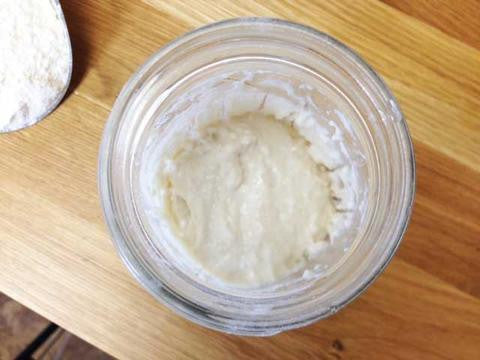
- At this point you may see a small amount of bubbling in the starter, but if you don’t see anything, don’t despair! It may take 5 to 10 days to have an active starter depending on the season, temperature in your house, type of flour used, etc. You will know your starter is active when it begins rising and bubbling. At that point, you will have successfully created your own starter using the natural wild yeast present in the flour.
As a side note, call me crazy but starter is alive and many people do name their starters. You will find that it has a mind of its own. It may die for no apparent reason after a few weeks, or it may last for decades. If you make starters from different types of flour, or at different times of the year, you will notice that they are not quite the same in flavor, smell, reactivity, etc.
As your starter becomes active, you may need to feed it from time to time. Here are a few guidelines on when to feed it:
– Every 2 to 3 days is a somewhat normal feeding schedule, but this can vary.
– If you notice a sour or vinegar-type smell, this means your starter is hungry. Follow the feeding instructions above and feed it its weight in water and flour.
– If you are ready to use your starter to make bread or pizza dough, you will need to start feeding it 2 days prior to when you plan to use it.
- 2 Days Prior to using it, feed it twice a day: once in the morning and once in the evening as this will increase its strength and allow it to rise more rapidly.
- 1 Day Prior to using it, feed it 3 times: once in the morning, once at noon, and once again in the evening. This will ensure it will be very reactive for the next day’s baking.
Now a few Tips & Tricks:
– If you want to make bread on Saturday, but you work all day like me and have no time to feed it at noon on Friday, no problem; just do a double feed that morning. For 30g of starter, feed it 60 g of flour and 60 g of water. Make sure the container is large enough as it will rise.
– The starter will rise and push with enough force to break a masonry glass jar, so make sure to keep the lid slightly open. You can put a coffee filter with the screw on rim, and not use the metal lid. This way you can keep bugs out and make the potential overflow less problematic. I also like to reuse 16 oz yogurt containers since they are easy to clean, and a small incision in the lid is enough to allow air flow.
– As the warmer days of summer arrive, the extra 10 degrees in your house may be enough to make your starter bubble out of control. While most starters don’t like to be refrigerated, you can “train” your starter to be ok in the fridge. This can be done over the weekend:
- On Day 1, put your starter in the fridge for 1 hour, then place it back on the counter.
- On Day 2, place your starter in the fridge for 4 hours, then place it back on the counter.
- On Day 3, leave your starter in the fridge overnight, then place it back on the counter.
- Finally, on Day 4, your starter can stay in the fridge for a whole week before you need to feed it and give it a chance to gain some strength at room temperature.
Bon appetit!
Antoine Cantarel